Ice Cream Sandwich Bars
Ice Cream Sandwich Bars are a delightful summer treat that perfectly blend creamy ice cream with soft cookies. These bars are not only easy to make but also fully customizable, making them an ideal dessert for various occasions, from backyard barbecues to cozy movie nights. Each bite brings layers of flavor and texture, evoking nostalgic memories of carefree childhood days. Prepare to impress your family and friends with this fun and flavorful recipe!
Why You’ll Love This Recipe
- Easy to Make: With just a few simple steps, you can create delicious Ice Cream Sandwich Bars in no time.
- Customizable Flavors: Use your favorite cookie types, like peanut butter or oatmeal, to suit your taste preferences.
- Perfect for Any Occasion: Whether it’s a summer party or a movie night at home, these bars are sure to please everyone.
- Nostalgic Experience: Enjoy the classic combination of cookies and ice cream that brings back fond childhood memories.
Tools and Preparation
To make your Ice Cream Sandwich Bars successfully, having the right tools is essential. Here’s what you’ll need:
Essential Tools and Equipment
- Baking dish (8×8 inches)
- Parchment paper
- Mixing bowl
- Spoon or spatula
- Plastic wrap
Importance of Each Tool
- Baking dish: A sturdy dish ensures even freezing and easy cutting of your bars.
- Parchment paper: Lining the dish with parchment helps in easy removal of the bars once frozen.
- Mixing bowl: A good-sized bowl allows for thorough mixing of ingredients without mess.

Ingredients
For these delicious Ice Cream Sandwich Bars, you will need:
For the Base
- 2 cups chocolate chip cookies, crushed
For the Filling
- 1 quart vanilla ice cream, softened
For Topping
- 1/2 cup chocolate sauce
- 1 cup whipped cream
How to Make Ice Cream Sandwich Bars
Step 1: Prepare Your Dish
- Line an 8×8-inch baking dish with parchment paper to ensure easy removal later.
Step 2: Create the Bottom Layer
- Spread half of the crushed cookies evenly at the bottom of the prepared dish.
Step 3: Add the Ice Cream
- Evenly scoop and spread the softened vanilla ice cream over the cookie layer.
Step 4: Complete with Cookies
- Add the remaining crushed cookies on top of the ice cream layer for added texture.
Step 5: Drizzle with Chocolate Sauce
- Generously drizzle chocolate sauce over everything for a rich flavor.
Step 6: Freeze Until Solid
- Cover with plastic wrap and freeze for at least 4 hours until solid.
Step 7: Serve Your Dessert
- Cut into bars and serve topped with whipped cream for an extra treat!
Now you’re ready to enjoy your homemade Ice Cream Sandwich Bars! They make for a perfect dessert that’s sure to delight everyone around you.
How to Serve Ice Cream Sandwich Bars
Ice Cream Sandwich Bars are versatile and fun desserts that can be enjoyed in various ways. Here are some creative serving suggestions to enhance your dessert experience.
Make It a Sundae
- Top each bar with a scoop of additional ice cream for a decadent sundae experience.
- Drizzle with extra chocolate sauce or caramel for added sweetness.
Add Fresh Fruit
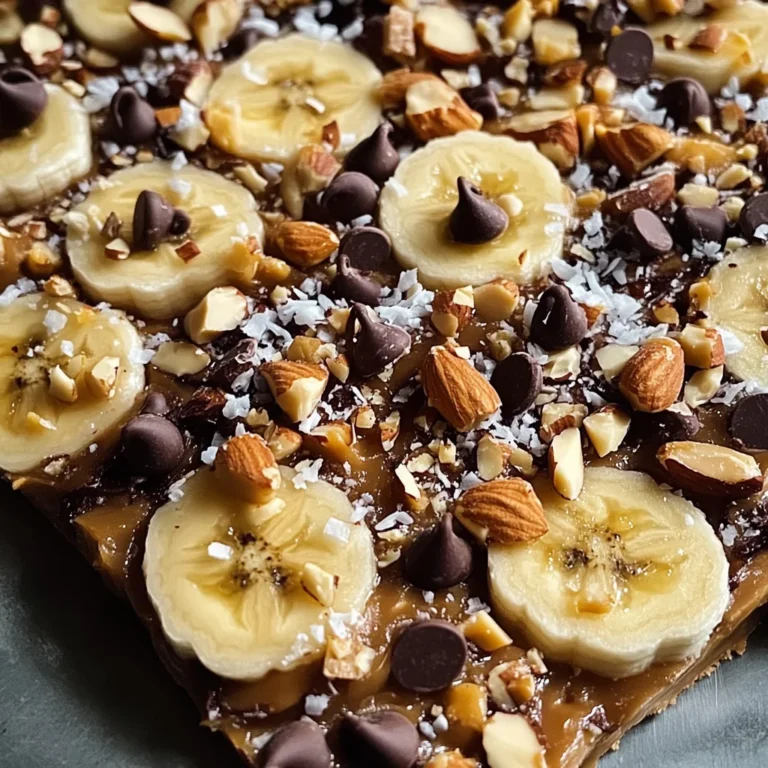
- Serve alongside fresh berries like strawberries or raspberries for a refreshing contrast.
- Slices of banana or peach can also complement the flavors beautifully.
Use Whipped Cream
- Garnish each bar with an extra dollop of whipped cream for added creaminess.
- Sprinkle some cocoa powder or cinnamon on top for a touch of flavor.
Create a Dessert Platter
- Arrange several Ice Cream Sandwich Bars on a platter with other desserts.
- Include cookies, brownies, and fruit tarts for a delightful variety.
Pair with Hot Beverages
- Serve the bars with hot beverages like coffee, tea, or hot chocolate.
- The warmth of the drink contrasts nicely with the coldness of the bars.
How to Perfect Ice Cream Sandwich Bars
To ensure your Ice Cream Sandwich Bars turn out perfectly every time, keep these tips in mind:
- Choose Quality Ingredients: Using high-quality ice cream and cookies makes a noticeable difference in flavor.
- Let Ice Cream Soften: Allowing the ice cream to soften slightly makes it easier to spread evenly between cookie layers.
- Experiment with Flavors: Try different cookie flavors like peanut butter or oatmeal for unique variations.
- Chill It Well: Freezing the bars for at least 4 hours ensures they hold their shape when cut.
- Cut With Warm Knife: Use a warm knife to slice through the bars smoothly without crumbling.
Best Side Dishes for Ice Cream Sandwich Bars
Ice Cream Sandwich Bars pair wonderfully with various side dishes that complement their sweetness. Consider these options:
- Fruit Salad
A mix of seasonal fruits provides freshness and balances the sweetness of the bars. - Chocolate-Covered Strawberries
These treats add an elegant touch and pair well with the chocolate in the bars. - Nutty Granola Clusters
Crunchy granola clusters offer texture that complements the soft bars perfectly. - Mini Cheesecakes
Individual cheesecakes provide rich flavors that contrast nicely with the ice cream sandwich bars. - Frozen Yogurt Parfaits
Layer frozen yogurt with granola and fruit for a light yet satisfying side dish. - Rice Krispie Treats
These classic treats add a chewy texture that is fun alongside ice cream sandwiches. - Chocolate Chip Cookies
An extra cookie option allows guests to indulge further while enjoying their dessert. - Pineapple Sorbet
A refreshing sorbet cleanses the palate after indulging in rich Ice Cream Sandwich Bars.
Common Mistakes to Avoid
When making Ice Cream Sandwich Bars, it’s easy to overlook a few key details. Here are some common mistakes and how to avoid them.
- Skipping the parchment paper: Always line your baking dish with parchment paper. This ensures easy removal of the bars once frozen.
- Using too much ice cream: Stick to the recommended amount of softened ice cream for even layering. Too much can make the bars difficult to cut.
- Not freezing long enough: Make sure to freeze the bars for at least 4 hours. Insufficient freezing will result in messy, soft bars that won’t hold their shape.
- Overbaking cookies: For chewy cookies, slightly underbake them. Overbaked cookies can become too hard and impact the overall texture of your Ice Cream Sandwich Bars.
- Neglecting toppings: Don’t forget to experiment with fun toppings! Sprinkles or crushed candies can elevate your dessert and add extra flavor.

Storage & Reheating Instructions
Refrigerator Storage
- Duration: Store in the refrigerator for up to 2 days.
- Container: Use an airtight container to prevent freezer burn.
Freezing Ice Cream Sandwich Bars
- Duration: These bars can be frozen for up to 2 months.
- Container: Wrap tightly in plastic wrap or foil, then place in a freezer-safe container.
Reheating Ice Cream Sandwich Bars
- Oven: Preheat oven to 350°F. Place bars on a baking sheet for about 5 minutes until slightly warm.
- Microwave: Heat in short intervals of 10-15 seconds until just warmed through. Avoid overheating!
- Stovetop: Place a non-stick skillet over low heat and warm the bars for a few minutes, flipping gently.
Frequently Asked Questions
Here are some frequently asked questions about Ice Cream Sandwich Bars that might help you make the perfect treat!
Can I use different flavors of ice cream for Ice Cream Sandwich Bars?
Yes! Feel free to use any flavor of ice cream you like, from chocolate mint to strawberry, for a unique twist on this classic treat.
How do I customize my Ice Cream Sandwich Bars?
You can customize these bars by adding toppings like crushed candies or switching up cookie flavors. Peanut butter cookies or oatmeal cookies work great!
How many servings do Ice Cream Sandwich Bars yield?
This recipe yields about 9 servings, making it perfect for sharing at gatherings or enjoying throughout the week.
Can I make Ice Cream Sandwich Bars ahead of time?
Absolutely! These bars are ideal for making ahead and freezing until you’re ready to serve them.
Final Thoughts
Ice Cream Sandwich Bars are a delightful treat that combines creamy ice cream with delicious cookies. Their versatility allows you to customize flavors and toppings according to your preferences. Whether you’re hosting a barbecue or enjoying a cozy night in, these bars are sure to impress everyone. Give this recipe a try and create your own sweet memories!
Ice Cream Sandwich Bars

Ice Cream Sandwich Bars are the ultimate summer treat, combining creamy vanilla ice cream and crunchy chocolate chip cookies for a fun and nostalgic dessert. These bars are not only easy to make but also fully customizable, allowing you to mix and match cookie flavors and toppings to suit any occasion—whether it’s a backyard barbecue or a cozy family movie night. Every bite is filled with delightful textures and tastes, perfect for impressing friends and family. Get ready to create your own sweet memories with this easy-to-follow recipe!
- Prep Time: 15 minutes
- Cook Time: 0 minutes
- Total Time: 15 minutes
- Yield: Approximately 9 servings 1x
- Category: Dessert
- Method: Freezing
- Cuisine: American
Ingredients
- 2 cups crushed chocolate chip cookies
- 1 quart softened vanilla ice cream
- 1/2 cup chocolate sauce
- 1 cup whipped cream
Instructions
- Line an 8×8-inch baking dish with parchment paper.
- Spread half of the crushed cookies evenly at the bottom of the dish.
- Scoop and spread the softened vanilla ice cream over the cookie layer.
- Add the remaining crushed cookies on top of the ice cream.
- Drizzle chocolate sauce generously over everything.
- Cover with plastic wrap and freeze for at least 4 hours until solid.
- Cut into bars and serve topped with whipped cream.
Nutrition
- Serving Size: 1 bar (85g)
- Calories: 210
- Sugar: 18g
- Sodium: 100mg
- Fat: 10g
- Saturated Fat: 5g
- Unsaturated Fat: 4g
- Trans Fat: 0g
- Carbohydrates: 30g
- Fiber: 1g
- Protein: 2g
- Cholesterol: 0mg